Being able to build a website for your idea or business is a skill that may seem unobtainable. In this tutorial we will cover how to create your first web application using React and deploy your site to GitHub Pages! Let’s first give some context and background about React and Github Pages. This tutorial will cover:
- Background on React
- Background on GitHub and GitHub Pages
- Installing all dependencies
- Building your first React web app
- Deploying to GitHub pages
Background on React:
React is library based on JavaScript that makes it extremely intuitive to build interactive user interfaces. React is component based, which means you can write something once and reuse the same component over and over again. It can also be used to make mobile applications using React Native. You can read more about React on their website.
Background on GitHub/GitHub Pages
GitHub is a version control and software development tool that is imperative for developers and can be integrated in most IDE’s (integrated development environment), such as Visual Studio Code and PyCharm. Git is the command line tool that centers around GitHub, giving developers a place to store their projects and code, view open source projects, and network with other developers. GitHub Pages is a way for you to host your projects directly from your repositories on GitHub. You can read more about GitHub Pages on their website.
Prerequisites
You will first need to create a GitHub account and then install Git, the command line tool to push code to your GitHub projects. To do so, we will follow these steps:
Creating a GitHub Account and Repository:
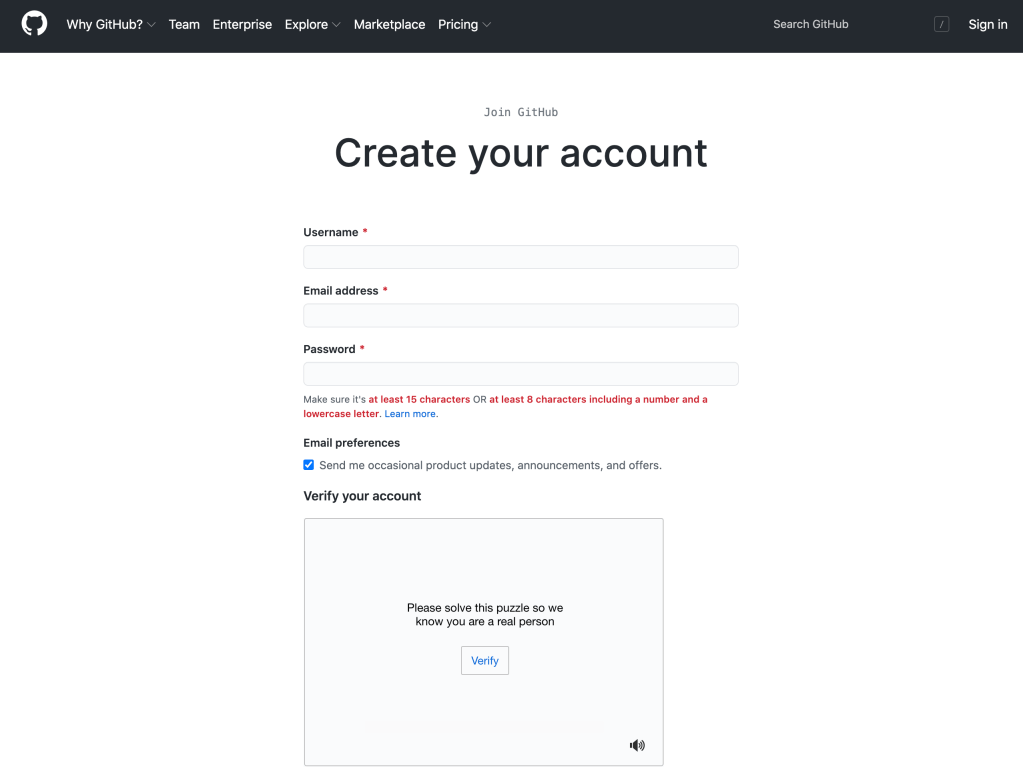
Head to the GitHub website and create an account. The homepage and sign up page will look similar to this:

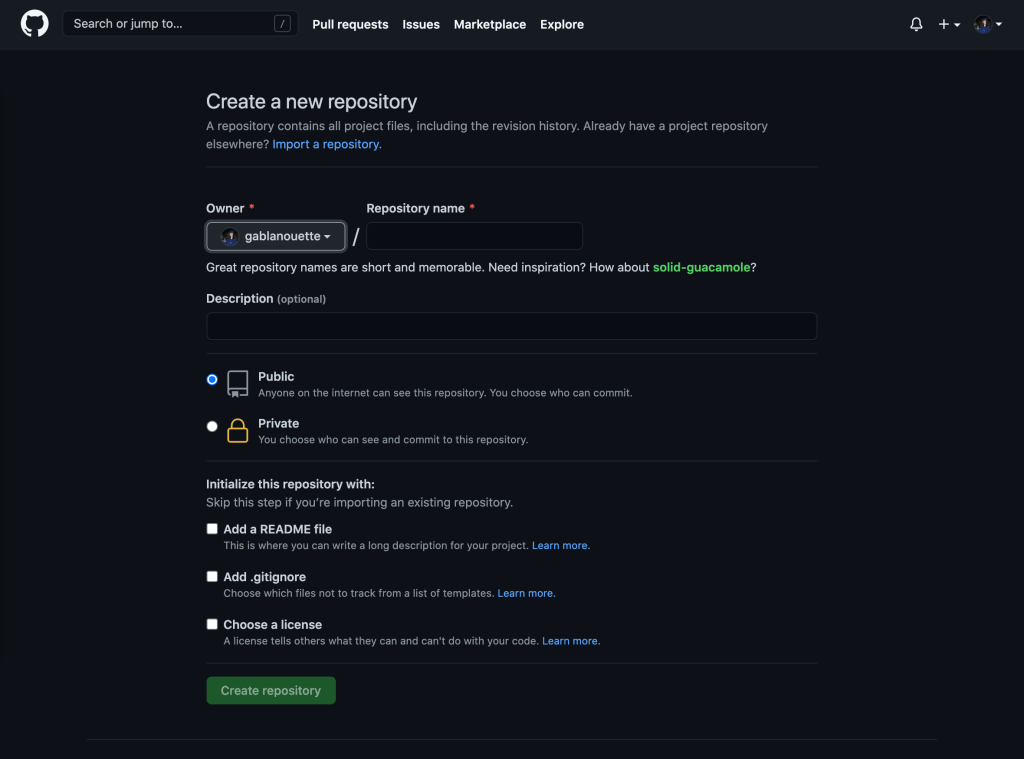
After creating your GitHub account, click the plus (+) in the top right hand corner, then click “New Repository”. The page will look similar to this:
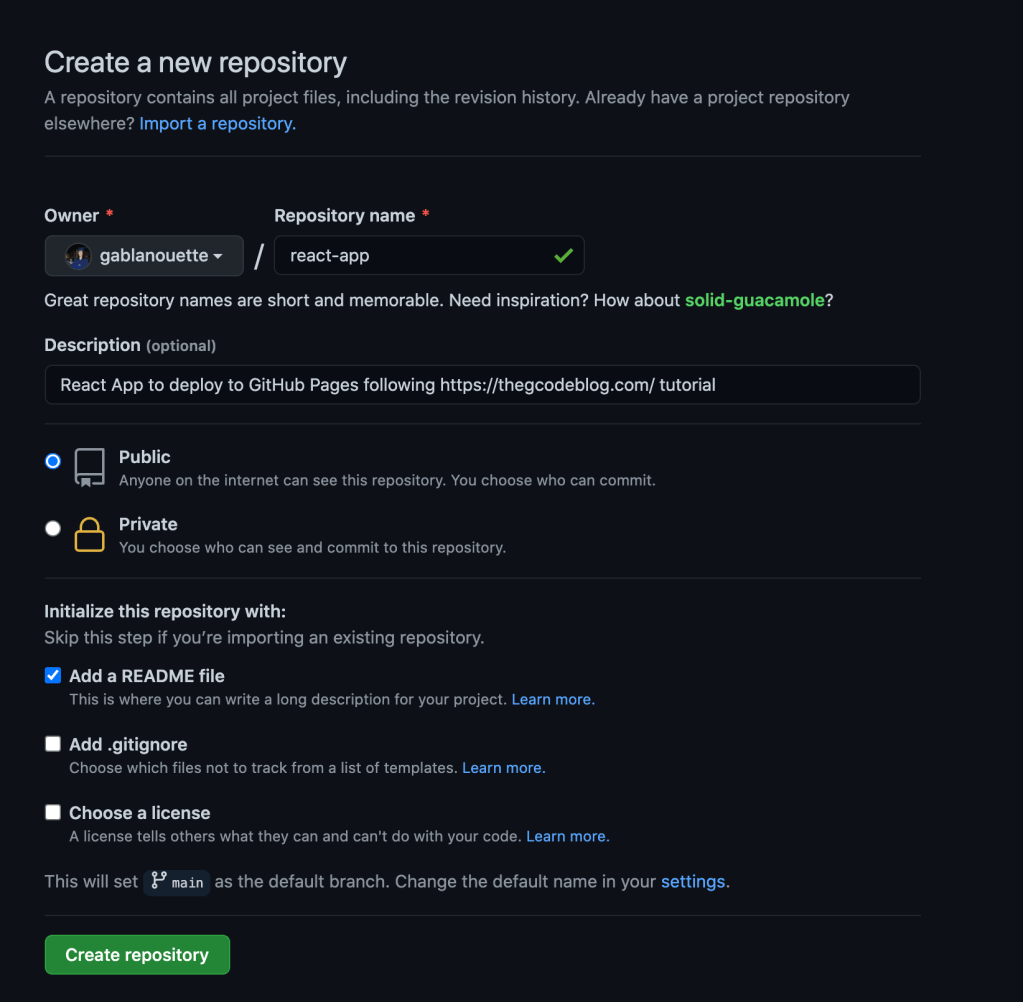
Name your repository something similar to the name of your app; for this tutorial, I will name our app “react-app”. You can add a description to the repository that describes your app. Make sure your repository is Public. You can choose whether or not you add a README, but we will cover adding one later as well. Your repo should look similar to:
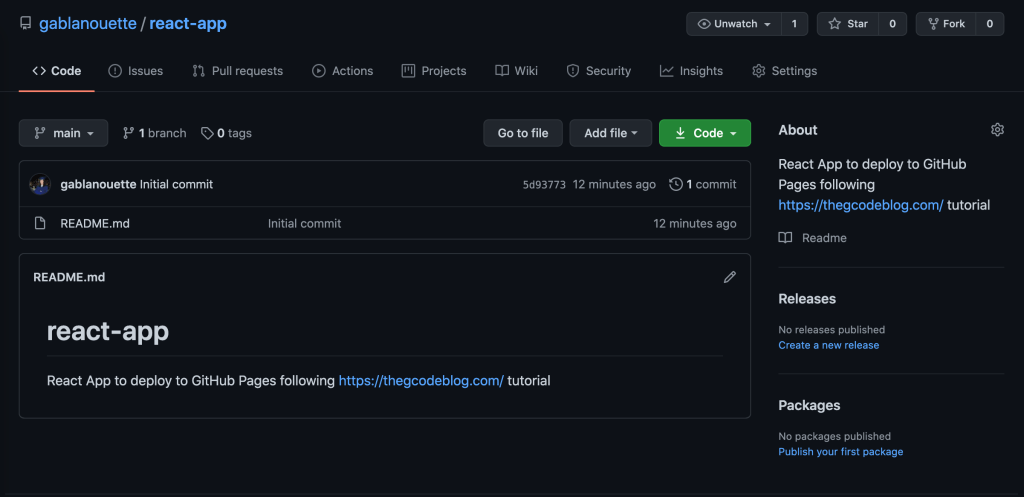
Click “Create Repository” to finish setting up your repo. Let’s explore GitHub for a moment! If you added a README file in the previous step, you will be able to see it here. The README is the description for your code and what you hope to accomplish with your project as well as examples for how to install and use your code. If you did not add a README yet, no worries, we will add one shortly from the command line. Your final repository should look similar to this:
Installing Git using Homebrew:
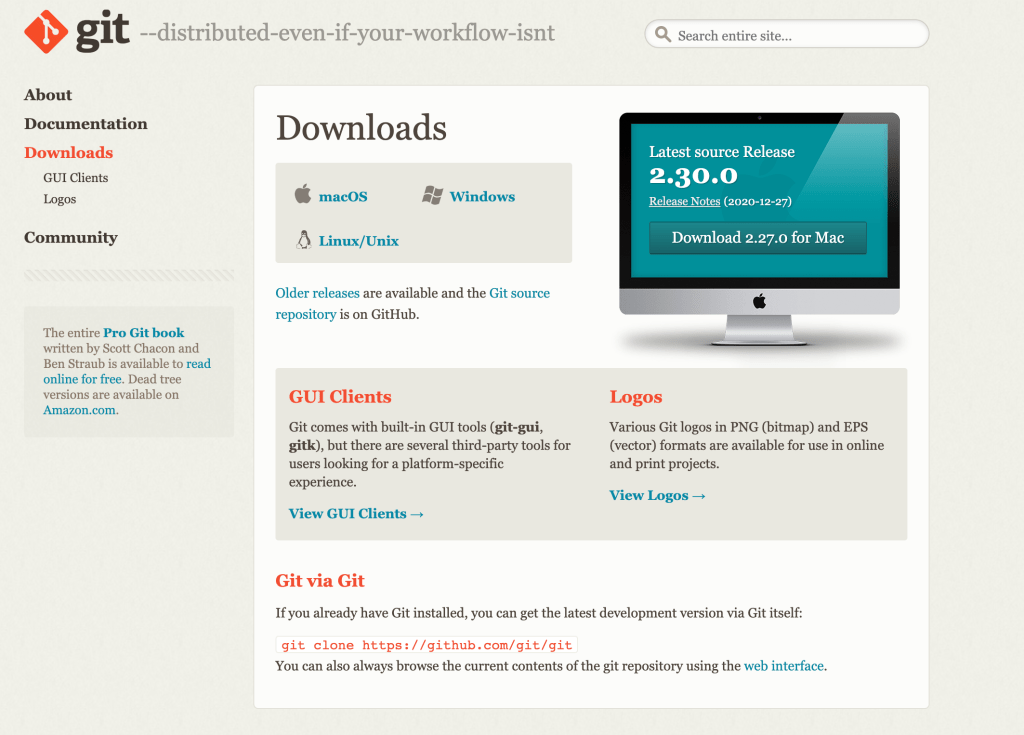
Now it is time to install Git, the command line tool that powers pushing and pulling code to and from GitHub. To install Git, head to the Git website and click the link for your computer type. I have a Macbook, so I will click the macOS link. The website will look like the following:
Mac Instructions:

Open your terminal or preferred IDE. In order to install Git, we will first install Homebrew. Homebrew is a way to easily install packages that your Apple system does not have pre-installed. The Homebrew website:
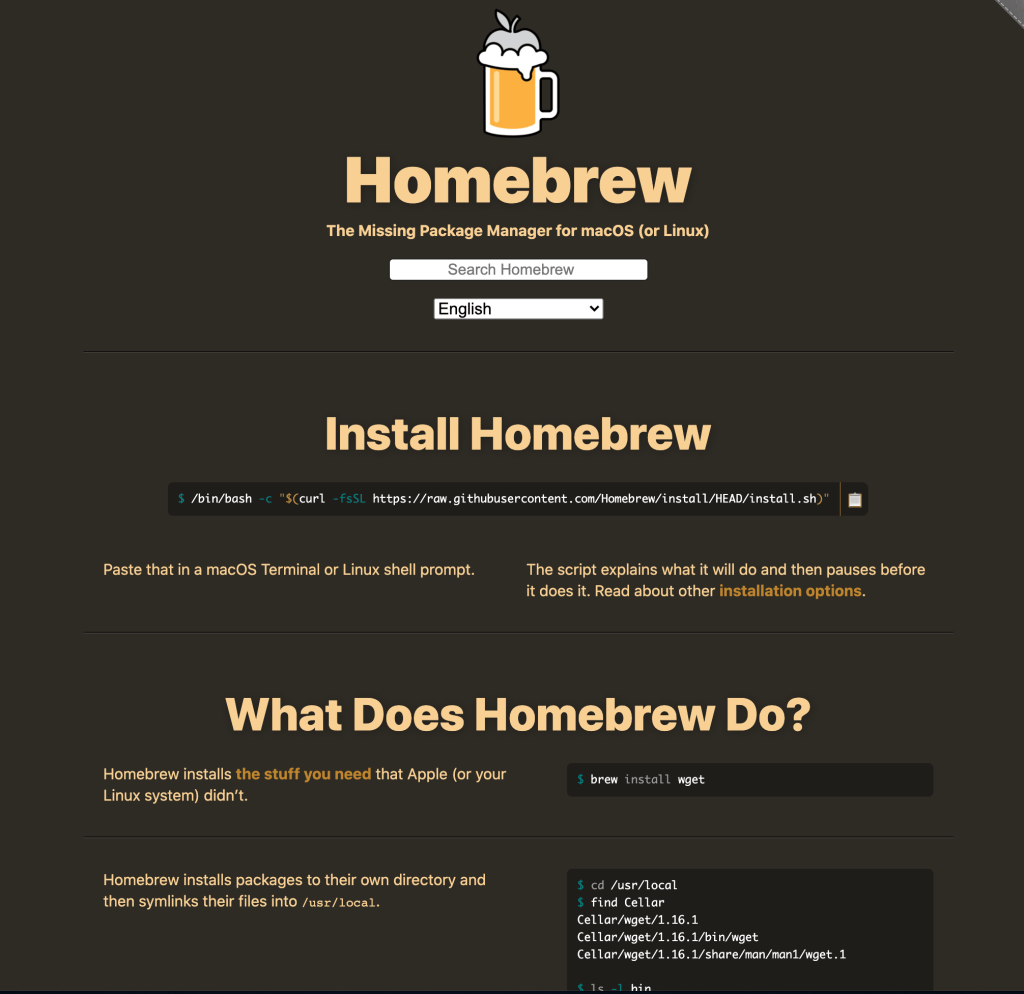
To install Homebrew, paste the following command in your terminal (excluding the $ sign, this is included here to show what your terminal command line should look like):
$ /bin/bash -c "$(curl -fsSL https://raw.githubusercontent.com/Homebrew/install/HEAD/install.sh)"Once Homebrew is installed, paste the following command into your terminal to install Git:
$ brew install gitWindows Instructions:

Click the “Windows” tab on the downloads page and wait for the download to begin. Once the installer has finished, click on the “.exe” file at the bottom of the page and follow the installation instructions.
It is important to setup your configuration settings in Git so that you can easily connect to your GitHub repository from your terminal or IDE. To do so, we will set the username and email in the configuration file from the command line. Type the following commands into your terminal:
$ git config --global user.name "Gabriella"This line of code sets the username that appears on your GitHub account when you make commits. You can make your username whatever you wish, and if you want to change the name in the future, you will need to run the same command with a new name. You can confirm that your username is set by running the following command:
$ git config --global user.name> GabriellaWe need to set your email in your configuration file as well using the same email you used for your GitHub account. Replace “email@example.com” with your GitHub email address. To set your Git email address, type the following command in your terminal:
$ git config --global user.email "email@example.com"To confirm your email is set, run the following command:
$ git config --global user.email > email@example.comThe last package you will need to install is Node.js. According to Node’s website, “Node is a Javascript runtime that is built on Chome’s V8 JavaScript engine”. You can learn more about Node.js by visiting their About page. The Node.js webpage will look similar to the following:
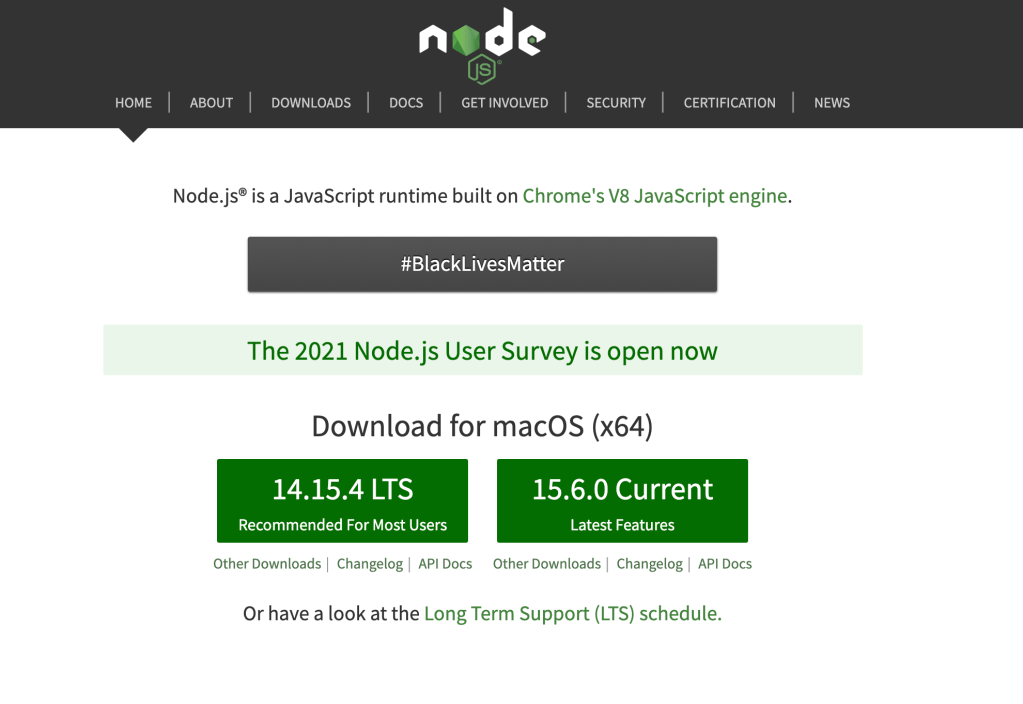
It is recommended to install the 14.15.4 LTS version for Mac, but important to install whichever version is recommended for most users based on your operating system. Click “download” and follow the installation prompts.
Once you have created your GitHub account, GitHub repository, and installed Git and Node.js, you are ready to being building your web app with React!
Building Your First React App
Note: As mentioned above, you can use whichever IDE you prefer (PyCharm, VS Code, or any other IDE of your choice). The following screenshots in this tutorial will be featured using PyCharm.
- The first step is to create a repository in your current directory named my-app using create-react-app. You can call your app whatever you would like, but for simplicity in this tutorial we will call the app and directory “my-app”. Run the following command in the IDE terminal:
$ npm init react-app my-app- The second step is to install the GitHub pages package as a dev-dependency. Run the following commands in the IDE terminal:
$ cd my-app
$ npm install gh-pages --save-dev- The third step is to update the properties in the package.json file. To do so, you will need to open the file named package.json and add the phrase “homepage” with the associated homepage link above “name” in the schema. We will also need to add the associated scripts for “predeploy” and “deploy” in the “scripts” part of the json schema. The “homepage” property will have the associated string value, “https://{username}.github.io/{repo-name}”. Here you will replace {username} with your username and {repo-name} with your GitHub repository name. We will need to add “predeploy” and “deploy” to the “scripts” property with the following string values, “predeploy”: “npm run build”, “deploy”: “gh-pages -d build”. The before and after of json file should look like the following:
{
  "homepage": "https://{username}.github.io/{repo-name}",
  "name": "my-app",
....
},
"scripts": {
  "predeploy": "npm run build",
  "deploy": "gh-pages -d build",
  "start": "react-scripts start",
...
},
Before:

After:

- The fourth step is to initialize your GitHub repository, and add it as a remote in your local git repository. Run the following commands in the IDE terminal:
- Note: You will need to replace my username and repository name with your own GitHub username and repo name.
$ git init
$ git remote add origin https://github.com/gablanouette/react-app.git- The fifth step is to deploy your app to GitHub Pages. The following command will create a branch in your repository named gh-pages. This branch will host the app and the homepage properties that we created in the package.json file. Run the following command in your IDE terminal:
$ npm run deploy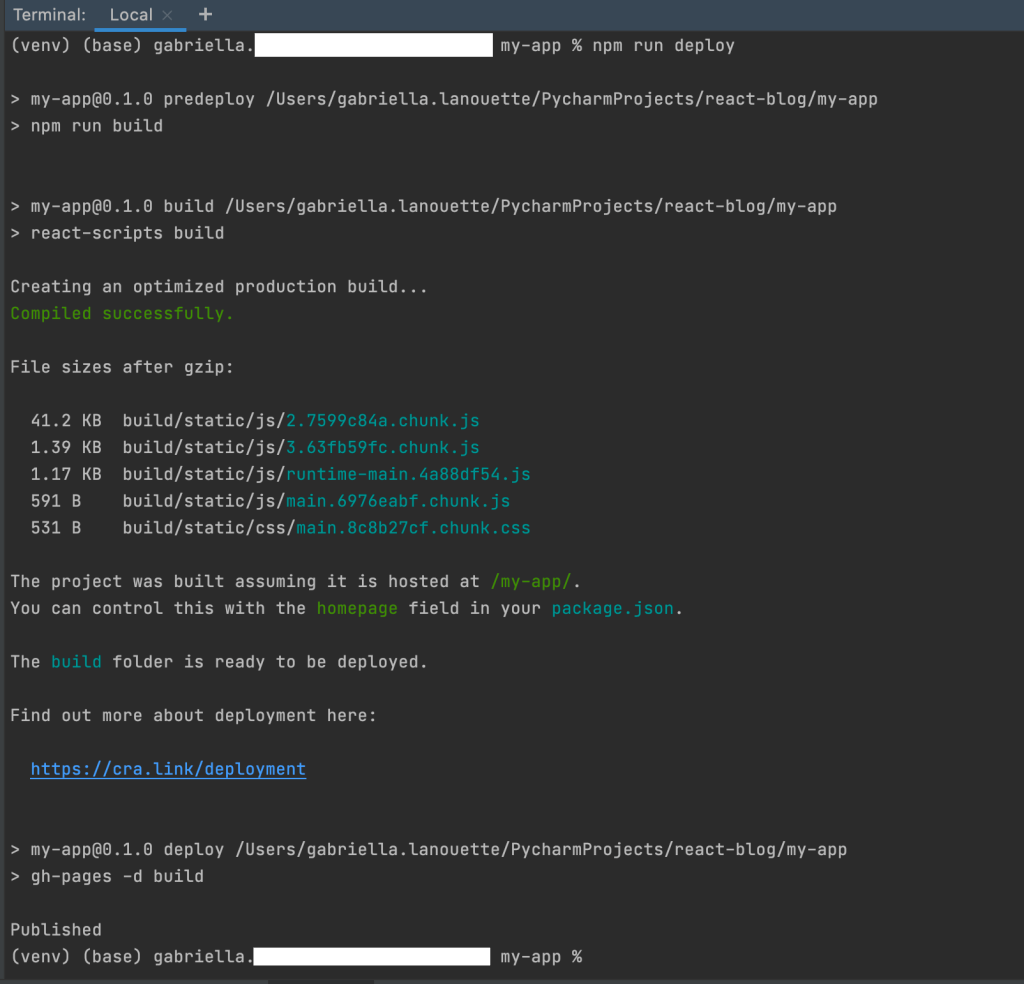
- The sixth step is to commit the code we just created and push it to your GitHub repository. Run the following commands in your IDE terminal:
$ git add .
$ git commit -m "deploy react app"
$ git push -u origin master- To view your GitHub Pages app, head to your repository and click on “Settings”, then scroll down the page until you the see “GitHub Pages” section:


You can now click the link to your website and view your awesome React app!
To test your app while developing and view your site before pushing your production ready code to GitHub, you can run the following command:
$ npm run startThis will open a webpage in your browser of your application and the changes you have made while developing. Your site should look like the following before any changes to the JavaScript code:
What We Have Learned in this Tutorial:
In this tutorial you learned how to create a GitHub account and repository, install Homebrew, Git, and Node.js, connect your local repository to your GitHub repository, create a React app, and deploy your code to your GitHub project. To deploy any changes you make to your site, simply save your code, commit those changes to GitHub, and then run the deploy command again. In upcoming tutorials we will be updating this site to create a hamburger building app and a language translator site! Stay tuned, and stay curious!
